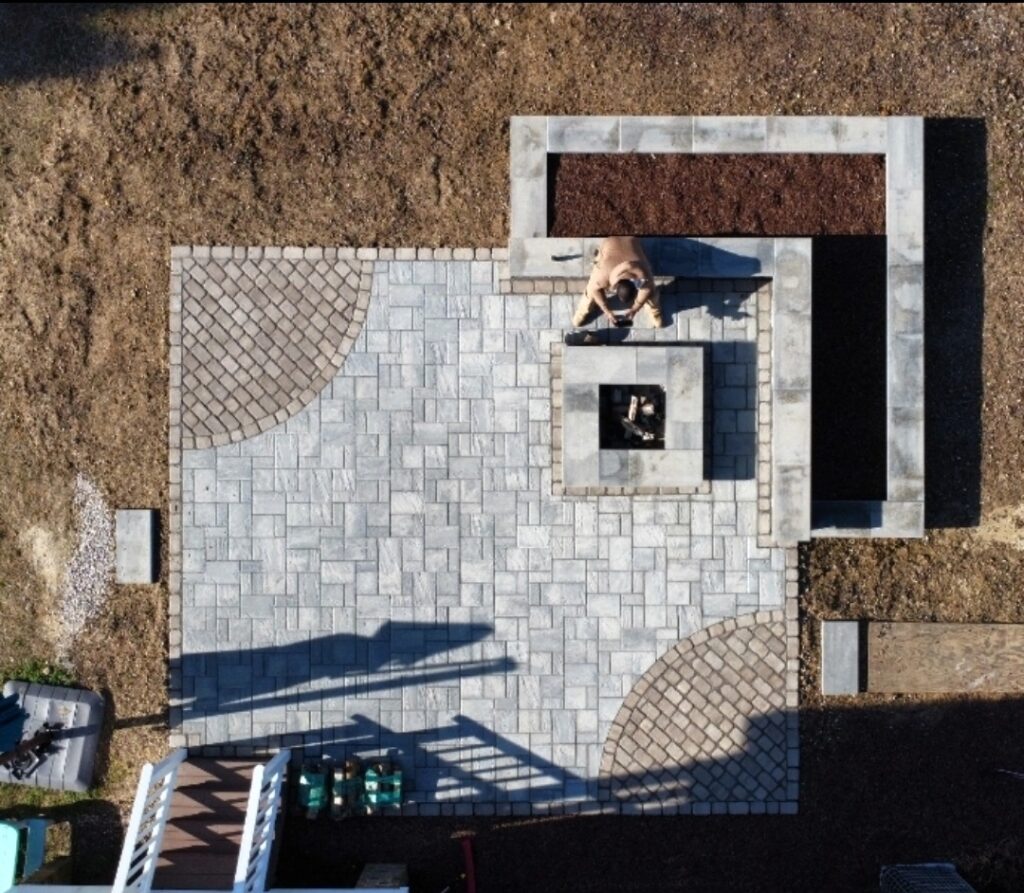
Building a Paver Patio can instantly transform your outdoor space into a functional and beautiful retreat. Whether you’re planning weekend BBQs, relaxing evenings with a book, or a spot for family gatherings, a professionally built paver patio adds long-lasting charm and value to your home. Here’s a step-by-step guide that walks you through the entire process of building a paver patio—from the first shovel in the ground to the last finishing touch.
Materials and Tools when building a paver patio :
- Materials:
- Pavers
- Base material (sand or gravel)
- Edging material (plastic or metal)
- Landscape fabric
- Paver sand
- Paver sealer (optional)
- Tools:
- Shovel
- Rake
- Tamper or plate compactor
- Level
- Tape measure
- Rubber mallet
- String and stakes
- Masonry saw or paver splitter (for cutting pavers)
- Broom
Steps:
- Design and Planning:
- Decide the location and size when your building a paver patio.
- Consider the type and color of pavers you want.
- Sketch a layout and calculate the number of pavers needed.
- Prepare the Area:
- Mark the perimeter of the patio using string and stakes.
- Excavate the area to a depth of about 6-8 inches, depending on the thickness of your base and pavers.
- Install Edging:
- Install edging material around the perimeter to contain the pavers and prevent shifting.
- Ensure the edging is level and secure.
- Add Base Material:
- Fill the excavated area with a base material such as gravel or coarse sand.
- Tamp the base down using a tamper or plate compactor to create a stable foundation.
- Lay Landscape Fabric:
- Lay landscape fabric over the compacted base to prevent weed growth.
- Add a Layer of Sand:
- Spread a layer of paver sand over the landscape fabric.
- Level the sand using a straight board or level.
- Place Pavers:
- Begin laying the pavers in your desired pattern, starting from one corner.
- Press each paver into the sand using a slight twisting motion to set it in place.
- Cut Pavers as Needed:
- When building a paver patio Use a masonry saw or paver splitter to cut pavers at the edges or around obstacles.
- Check for Level:
- Regularly check the level of the patio surface as you work to ensure a flat and even surface.
- Fill Joints with Sand:
- Once all pavers are in place, sweep paver sand into the joints to stabilize and lock them together.
- Compact the Surface:
- Run the plate compactor over the surface to settle the pavers and ensure a solid foundation.
- Seal the Pavers (Optional):
- Consider applying a paver sealer to protect the surface and enhance the color of the pavers within 6 months after building a paver patio
- Final Cleanup:
- Sweep away excess sand and clean the surface of the pavers.
Remember when building a paver patio to follow any specific instructions provided by the manufacturer for the pavers, sand, and sealer you choose. Always consider safety precautions, and if you’re unsure about any step, consult with a professional or seek advice from your local home improvement store.

